Getting Started with Arduino: A Comprehensive Guide for Beginners
In recent years, Arduino has become a buzzword among tech enthusiasts, hobbyists, and educators alike. Its open-source nature, affordability, and flexibility have made Arduino a popular choice for anyone looking to dive into the world of electronics and programming. Whether you’re a curious beginner or someone with a knack for tinkering, this guide will help you get started with Arduino.
What is Arduino?
Arduino is an open-source electronics platform based on easy-to-use hardware and software. It’s designed to make the process of working with electronics more accessible to artists, designers, hobbyists, and anyone interested in creating interactive projects. The Arduino board can read inputs – light on a sensor, a finger on a button, or a Twitter message – and turn it into an output – activating a motor, turning on an LED, or publishing something online.
Getting Your First Arduino
If you’re new to Arduino, the best way to start is by purchasing an Arduino Starter Kit. This kit includes everything you need to begin your journey with Arduino, including a selection of the most common and useful electronic components, along with a detailed project book. The guidebook includes a set of tutorials that will guide you through the basics of Arduino and DIY electronics.
Understanding the Components
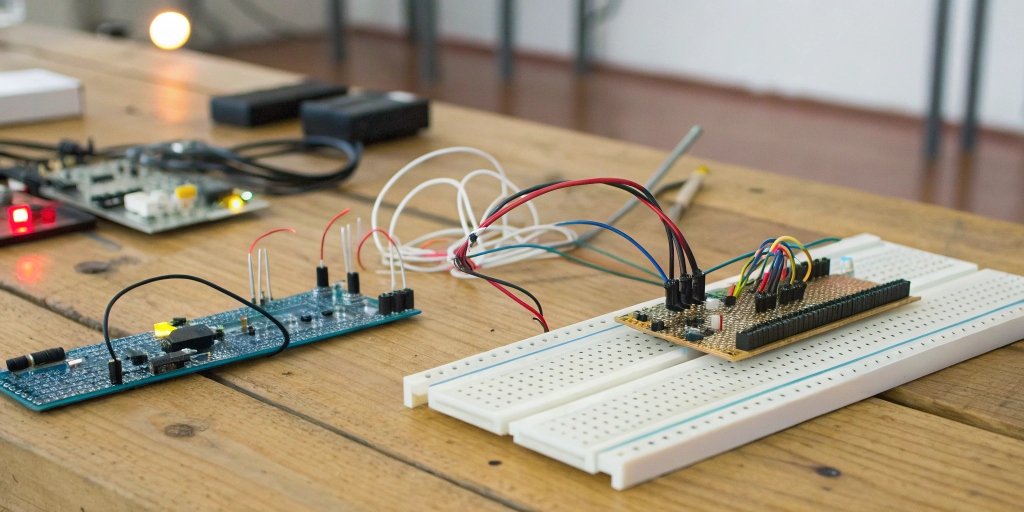
An Arduino board consists of an Atmel microcontroller and complementary components that facilitate programming and incorporation into other circuits. The most common board is the Arduino Uno, which provides a great balance between functionality and cost. Here are some of the key components you will encounter:
- Microcontroller: The “brain” of the Arduino, typically an Atmel AVR microcontroller, which runs your code.
- Digital I/O Pins: Used to connect and control various components like LEDs, buttons, and other sensors.
- Analog Pins: Can read varying voltage levels, useful for sensors that output a variable voltage.
- USB Connection: For loading code from your computer and powering the board.
- Power Jack: Allows you to power the board using an external power source.
Setting Up the Arduino Software
To program an Arduino board, you need to install the Arduino Integrated Development Environment (IDE) on your computer. The Arduino IDE is a free platform that allows you to write code and upload it to your board. You can download the latest version of the IDE from the Arduino website. Once installed, connect your Arduino board to your computer using a USB cable.
Writing Your First Program
Once your software is set up, it’s time to write your first program, also known as a “sketch.” The Arduino language is based on C/C++ and is surprisingly easy to learn. Here’s a simple example to get you started:
        // This sketch blinks an LED connected to pin 13
        void setup() {
          pinMode(13, OUTPUT); // Set pin 13 as an output
        }

        void loop() {
          digitalWrite(13, HIGH); // Turn the LED on
          delay(1000);            // Wait for a second
          digitalWrite(13, LOW);  // Turn the LED off
          delay(1000);            // Wait for a second
        }
This code turns an LED on and off in one-second intervals. Upload the sketch to your Arduino board using the “Upload” button in the Arduino IDE.
Exploring Further
Once you’ve mastered the basics, the possibilities with Arduino are virtually limitless. From creating an automated plant watering system to building your own robot, Arduino can be the foundation of countless exciting projects. Online communities and forums are great resources for finding inspiration, troubleshooting issues, and sharing your projects.
With this guide, you have a solid foundation to start your journey with Arduino. The combination of simplicity and power makes it an ideal platform for both beginners and advanced users. Happy coding!