How to Ride a Mountain Bike Safely: Essential Tips for New Riders
Mountain biking is one of the most exciting outdoor sports you can try. Fresh air, stunning trails, and the thrill of the ride make it hard to resist. However, jumping in without the right knowledge can lead to injuries. Therefore, this guide covers everything you need to know to get started the right way. Whether you are heading to a local trail or a dedicated bike park, these MTB safety tips will help you build confidence from day one.
Start With the Right Bike and Fit
Before you hit any trail, you need a bike that suits your body. A poorly fitted bike makes riding harder and increases your risk of falling. Visit a local bike shop and ask for a proper fitting. The saddle height, handlebar position, and reach all matter more than most beginners realize.
Additionally, choose a bike designed for the terrain you plan to ride. A hardtail (front suspension only) works well for beginner trails. A full-suspension bike handles rougher ground but costs more. Start simple. As your skills grow, you can upgrade later.
Gear Up Before You Go
Protective gear is not optional. It is the single most important investment you can make before your first ride. Even a slow fall on a rocky trail can cause serious injury. Therefore, always suit up properly before you leave home.
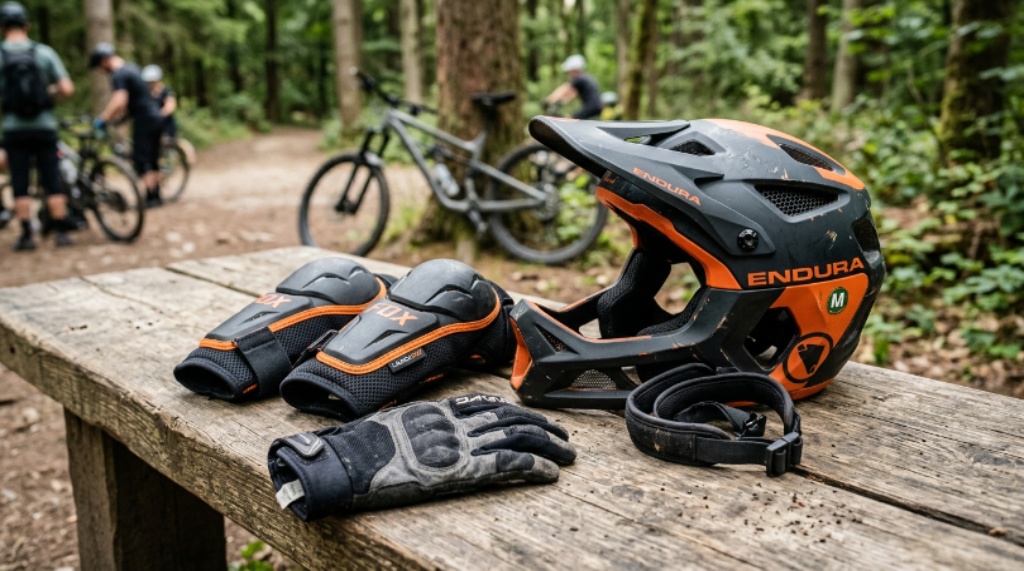
Here is the essential protective gear every new rider needs:
- A full-face or trail helmet that fits snugly and sits level on your head
- Knee pads to protect against scrapes and impacts on rough ground
- Elbow pads to cushion falls on technical sections
- Gloves to improve grip and protect your palms
- Padded shorts to reduce fatigue and protect your hips
Beyond protection, wear moisture-wicking clothing that moves with your body. Avoid loose pants that can catch on the chainring. Closed-toe shoes with stiff soles give you much better pedal grip than sneakers. Sunglasses or clear lenses protect your eyes from dust, branches, and insects.
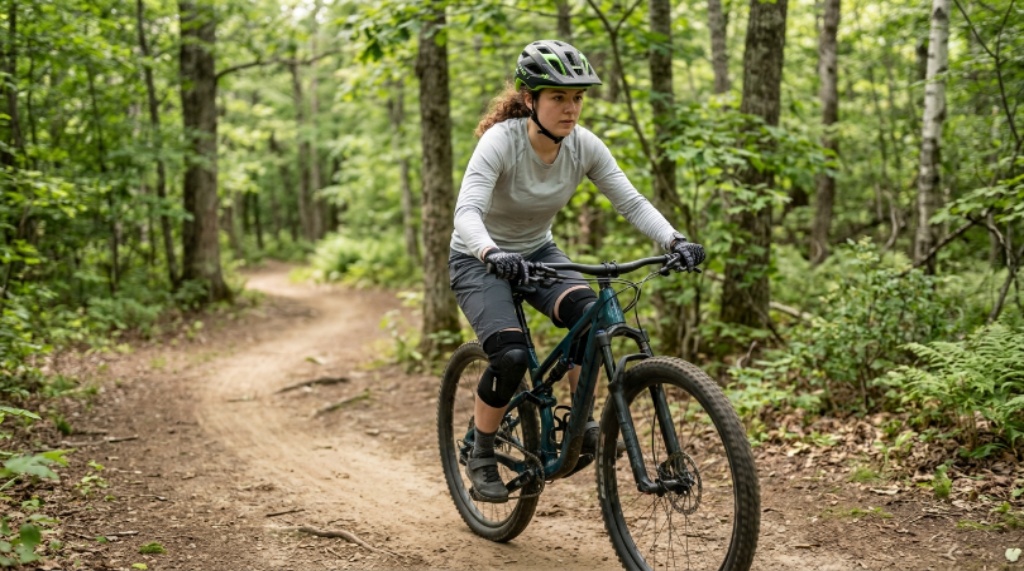
Learn the Basic Riding Position
A correct riding position gives you balance, control, and confidence. Many beginners grip the handlebars too tightly and sit too far back. This makes steering harder and increases fatigue.
Stand with your pedals level (the three o’clock and nine o’clock position). Bend your knees slightly. Keep your elbows slightly bent too. Your weight should be centered over the bike, not leaning too far forward or backward. This neutral stance is the foundation of all beginner riding techniques.
Look ahead, not straight down at your wheel. Your bike tends to go where your eyes point. Focus on where you want to go, not the obstacle you want to avoid. This simple shift in focus makes a huge difference on the trail.
Master Braking Before You Need It
New riders often brake too late or too hard. This sends you over the handlebars or causes the rear wheel to skid. Good braking is smooth, controlled, and planned ahead of time.
Use both brakes together. Your front brake provides most of your stopping power. However, grabbing it sharply on a descent can pitch you forward. Apply it firmly but gradually. The rear brake helps you slow down and control your speed on loose ground.
Practice braking on flat, open ground before you tackle any downhill section. Get a feel for how much pressure stops the wheel from locking. Additionally, always brake before a corner, not during it. Braking mid-corner reduces your grip on the surface.
Tackle Climbs and Descents Safely
Uphills and downhills are where most beginner crashes happen. Each requires a different technique, so it pays to practice them separately.
Climbing
Shift to an easier gear before the hill gets steep. Keep your weight forward to stop the front wheel from lifting. Stay seated when possible. This keeps traction on the rear wheel. If the ground is loose, pedal smoothly rather than in short, hard bursts.
Descending
Drop your heels and push them into the pedals. Move your hips slightly back behind the saddle. Keep your arms loose to absorb bumps. Look ahead and scan for roots, rocks, and drop-offs. Start on gentle slopes and work your way up to steeper trails gradually.
Understand Trail Etiquette and Signs
Safety on the trail is not just about your own riding. It also involves how you interact with other trail users. Mountain bike trails often have directional flow and shared paths with hikers and other cyclists.
Always give way to hikers coming uphill. Slow down and communicate clearly before passing anyone. A simple “passing on your left” prevents a lot of startled reactions.
Learn to read trail difficulty ratings before you ride. Green trails are beginner-friendly. Blue trails are intermediate. Black trails are for experienced riders only. Do not attempt a trail above your current skill level. It puts both you and other riders at risk.
Additionally, check trail conditions before heading out. Wet roots and mud are extremely slippery. Many trail networks post condition updates online or at the trailhead. Riding in poor conditions also damages the trail surface for everyone.
Check Your Bike Before Every Ride
A quick pre-ride check takes less than five minutes and can prevent mechanical failures mid-trail. Follow the ABC check before every outing.
- A stands for Air. Check that both tyres are inflated to the correct pressure. Soft tyres increase the risk of pinch flats and reduce control.
- B stands for Brakes. Squeeze both levers. The brakes should engage firmly before the levers hit the handlebar.
- C stands for Chain and Cranks. Spin the pedals and check the chain moves smoothly. Make sure the cranks feel tight with no wobble.
Also check that your saddle is at the right height and that your handlebars are straight and secure. Spend a moment on any loose bolts before you roll out.
Ride Within Your Ability
One of the most overlooked MTB safety tips is simply knowing your limits. Progress comes gradually, not all at once. Pushing beyond your current skill level is the fastest way to get hurt.
Ride with more experienced friends when you can. Watching how they handle obstacles teaches you far more than reading about it. However, do not let peer pressure push you into trails you are not ready for. A good riding buddy will respect your pace and offer guidance, not pressure.
Set small goals each session. Maybe today you will clean a rock step-up. Next week you will try a berm corner. This kind of structured progress keeps riding fun and keeps you safe.
Know What to Do If You Fall
Falls happen to every rider, from beginners to professionals. The key is to know how to fall safely and how to respond afterward.
Try to tuck and roll rather than extending your arms stiffly to catch yourself. Stiff arms absorb the full impact of a fall and commonly cause wrist fractures. A tucked fall distributes the impact more evenly.
After a fall, take a moment before getting back up. Check yourself for pain, cuts, or signs of a head injury. If you hit your head, stop riding for the day even if you feel fine. Symptoms of concussion can appear hours later. Always carry a basic first aid kit and a charged mobile phone on longer rides.
Conclusion
Mountain biking is a rewarding sport when you approach it with the right preparation. Start by getting a properly fitted bike and investing in quality protective gear. Learn the correct riding position and practice your braking before you need it on a descent. Take climbs and downhills at your own pace and always check your bike before every ride. Respect trail signs, other users, and your own current ability level. By following these beginner riding techniques and building your skills steadily, you will stay safe, progress faster, and enjoy every ride far more.
Frequently Asked Questions
What helmet should a beginner mountain biker wear?
A trail helmet with MIPS technology is a great starting point. It covers the back of the head better than a road helmet and protects against rotational impacts. Look for one certified to CPSC or EN1078 standards.
How do I know which trail difficulty is right for me?
Start on green-rated trails until you feel completely comfortable with your braking, cornering, and climbing. Move to blue trails once those skills feel natural. Never skip a rating level just because a trail looks manageable from the trailhead.
Do I need full suspension as a beginner?
Not necessarily. A hardtail is lighter, cheaper, and teaches you better technique because you cannot rely on rear suspension to smooth out your mistakes. Many experienced riders still prefer hardtails for cross-country riding.
How often should I service my mountain bike?
A basic clean and lube after every muddy ride keeps your drivetrain healthy. A full service including brake bleed, bearing check, and suspension service is recommended every six months for regular riders, or at the start of each season.
Is it safe to ride alone as a beginner?
It is better to ride with at least one other person when you are starting out. If you do ride alone, always tell someone your planned route and expected return time. Carry a phone, a basic first aid kit, and a GPS device or trail map.
Related Topics:
How to Use Oversize Golf Grips to Improve Control and Reduce Pain
How to Choose the Right Skateboard Deck Size for Beginners